Once an approval route is started by an author, the tasks within the route will be available for completion by the task assignee's. As described in Configuring an Approval Route, the tasks must be completed sequentially by task groups, with Level 1 tasks being first, Level 2 tasks being second, and so forth.
In order for a user to complete an approval task, the following conditions must be true:
- The task must be assigned specifically to the user, OR the task must be generically assigned to the user's group. (e.g. The task might be assigned to 'Any Business Approver'.)
- The user must not have already signed the record in the current approval route. Users are only permitted to sign a record once per approval route.
Approval tasks are completed by accessing the Approval Task(s) button of the VERA Action Menu. 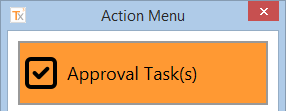
Figure: Approval Task(s) Action Button
After opening the Approval Tasks feature, a multi-selection dialog will display that is mostly identical to the standard multi-selection dialog used by other VERA features (reference Multi-select Actions). The Approval Tasks dialog has two additions not present in other dialog's: a role selection field and Approve/Reject/Reassign buttons.
Selecting a Role
If the user is eligible to complete more than one pending approval task on the selected record(s), then they must first select the role they intend use from the Role field above the multi-selection tree. For example, if the current record is pending both Technical and Business approval, and the user is assigned to both roles, then they can choose to complete the task as either Technical or Business.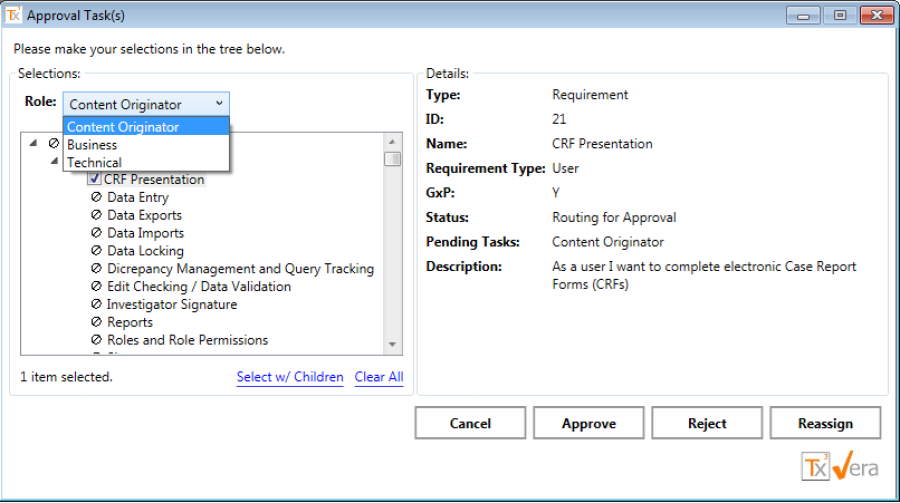
Figure: This particular user is able to choose between the Technical and Business roles.
If only one role is available to the user for the current record(s), then this step is not necessary.
| Anchor | ||||
|---|---|---|---|---|
|
To approve one or more records, select the desired records from the multi-selection tree and press the Approve button.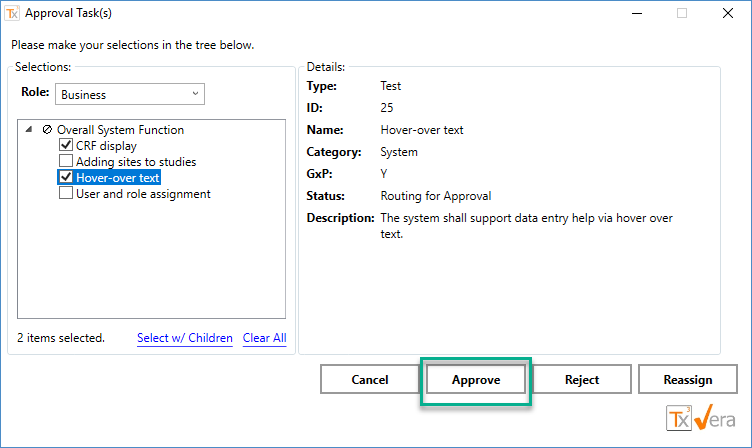
Figure: The 'Approve' button in the Approval Task(s) dialog.
The next screen prompts the user to confirm their selection and to enter their user ID and password. Pressing Done will apply the user's electronic signature to the record and complete the approval task. 
Figure: Provide a user name and password to sign the record(s).
The selected records are updated when the approval is applied:
- The user's signature is appended to the Signatures field of each record.
- The approval task is removed from the Pending Tasks field.
- The approval task is marked as complete in the Approval Route field.
- If the user was the final approver in their task group, then the next task group is started:
- The Pending Tasks field is populated with the tasks of the next task group.
- The Approval Route field shows that the next group of tasks has started.
- Task assignee's (if any) in the next group of approvers will receive email notifications.
- If the user was the final approver in the approval route, then the record is fully approved:
- The Status field is set to Approved. For defect records, Status will be set to Closed, and Approved will be set to Y.
- The record's author will receive an email notification.
Failed Signature Attempts
When the user enters an incorrect user name or password, an error message is displayed under the password text. The message indicates whether it is the user name or password that is incorrect, and it will also display the number of attempts that remain.
For regulatory compliance purposes, VERA will only permit a limited number of consecutive failed signature attempts. If the user runs out of attempts, then they will be blocked from any further signature attempts for the remainder of the login session, and an email notification will be sent to the user's registered email address and also to the system administrators. The user's network account may also become locked, if so configured by the administrators. To resolve this condition, the user must exit the QC/ALM project and login again to reconfirm their credentials. The user will then be able to resume using the electronic signature feature.
By default, five (5) consecutive failed signature attempts will trigger the lockout and notification condition described above. This number can be configured by the VERA Policy Administrator.
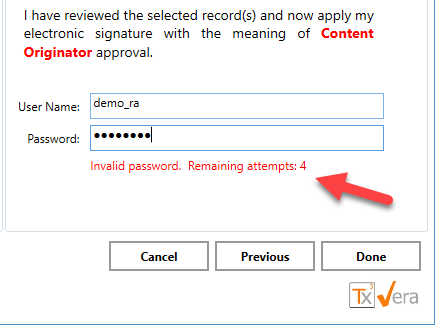
Figure: The use entered an invalid password, and they have 4 attempts remaining before they will become blocked from any further attempts.
Reject
Instead of approving, an approver can reject records that are pending approval. Once the appropriate records have been selected, the user can click the Reject button. 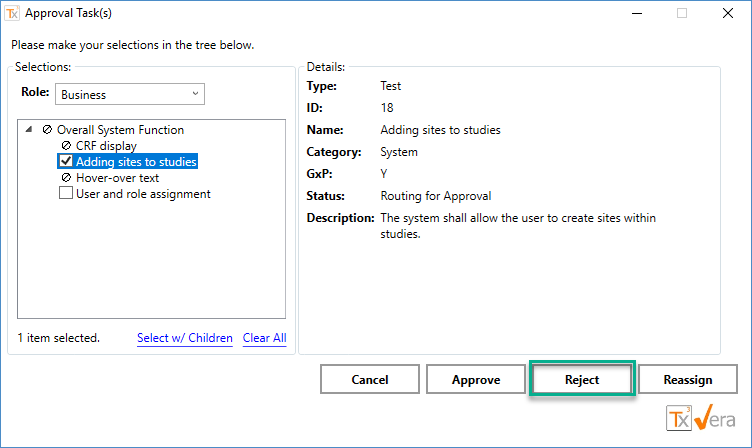
Figure: The 'Reject' button in the Approval Tasks(s) dialog.
The user will then be required to enter a rejection reason. 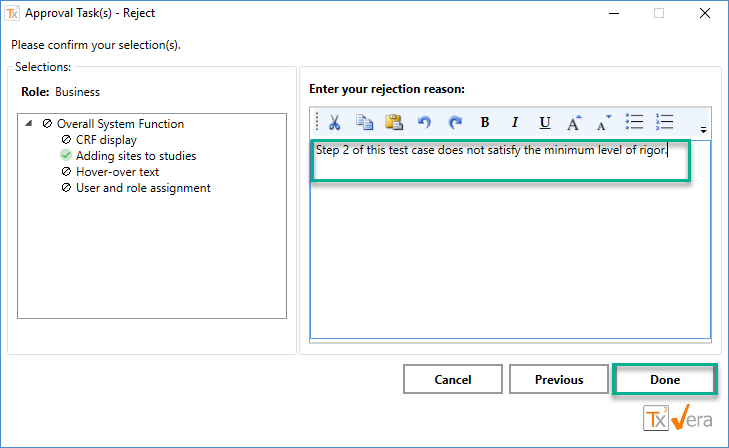
Figure: Provide a rejection reason to reject the record(s)
The selected records are updated when the rejection is applied:
- The rejection reason is appended to the Rejection Reason field.
- The Status field is updated to the Rejected state.
- The Approval Route field is updated to show that the route has been stopped.
- The Pending Tasks field is cleared.
- The record's author/owner receives an email notification of the rejection.
Reassign
Instead of approving or rejecting, an approver can reassign their approval task to another user in the approval group, or they can un-assign the task by releasing it to all users in the approval group. This is done by clicking the Reassign button. 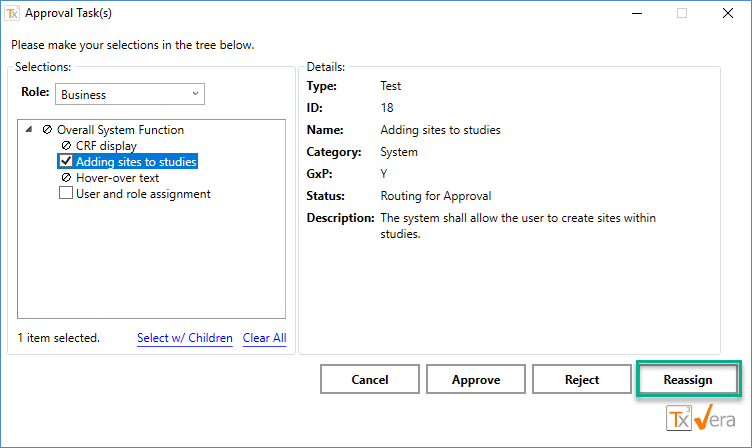
Figure: The 'Reassign' button in the Approval Task(s) dialog
The user will then be prompted to select the user to which the task should be reassigned. Alternatively, the user can select "<Any>" to release the task to the entire approval group.
Figure: Select the new assignee to reassign the task(s)
The selected records are updated when the approval task is reassigned:
- The Pending Tasks field is updated with the new assignee.
- The Approval Route field is updated with the new assignee.
Table of Contents
| Table of Contents | ||
|---|---|---|
|