Create Requirements
Requirements can be created following the standard steps found in the QC/ALM User Guide.
The system displays the New Requirement window when the user clicks the New Requirement button from the Requirements module toolbar.
- The system automatically sets the Status field to Draft and the Revision Number field to 1.
- Users can set the Requirement Type, GxP and other attributes, then click Submit to save the requirement. The user should then check-in the new requirement when modifications are complete.
Version Control
When a requirement is created or edited, and the project is enabled for version control, the requirement will be checked out to the editing user. While the requirement is checked out, no other users can edit or transition the requirement.
The system will automatically check out and check in entities when they are transitioned by VERA. An entry in the History -> Versions tab will be created for each VERA action applied to a requirement.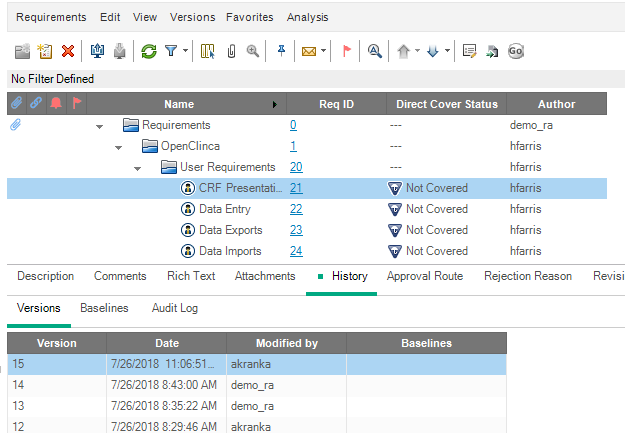
Figure: Version History Entry Example