Skip to end of metadata
Go to start of metadata
You are viewing an old version of this page. View the current version.
Compare with Current
View Page History
« Previous
Version 5
Next »
Overview of the Approval Queue
- When a user signs into the VERA web portal, all pending tasks for that user will display in the approval queue
- If you navigate off of the approval queue, you can go back by clicking on the Tx3 VERA logo
 in the top left hand corner of the page
- Clickin the refresh icon in the upper right will pull the latest approval data into the table
- Selecting the filter icon in the upper right will display text boxes at the top of the table to allow data entry to filter table
- Checkboxes allow the user to select multiple records at once. The topmost box allows the user to select all records on the page
- Sorting is allowed any of the table columns. Select up or down arrow to sort accordingly
- Record Names can be selected and will direct user to the records detail page for more information
- Approve an Reject icons on the far right to allow user to approve/reject a single record

How to Approve or Reject a Single Record
- On the approval queue page, locate the record that you want to sign off on
- To approve, click on the approve icon
 and enter your password

- To reject, click on the reject icon
 and enter the rejection reason

- On submit, the queue will refresh and the record will be removed from the table
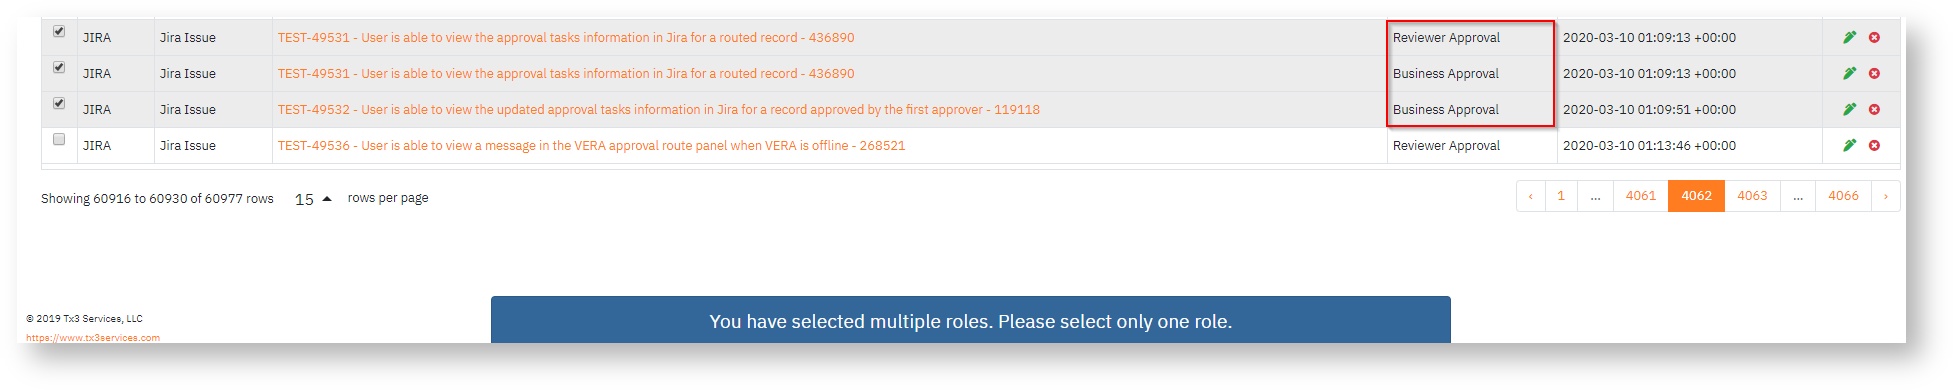
How to Bulk Approve
- On the approval queue page, locate the records that you want to sign off on
- Select the boxes to the left of the record

- Click on the Approve button on the banner that appears on the bottom of the page

- Enter your password and click Submit