Connecting VERA to Source Applications
- Former user (Deleted)
- Aaron Morris (Deactivated)
VERA connectivity is configured in the Synchronization Policy.
Road Map
The configuration of this file will be replaced with a web-enabled solution on our VERA Web Portal accessible by VERA Administrator.
Tx3 Personnel and Support will assist with the configuration of this file. If you have any questions, please open a ticket at https://support.tx3services.com/portal/en/home.
Step-by-step guide
- Set up a service account for the source system with administrator access (e.g. - Jira or qTest)
- Encrypt the service account password with the PasswordEncryptionUtility.exe provided by Tx3
Encrypt the Service Password using the “VERA_Password_Encryption_Utility”
From the VERA package, unzip the 'VERA_Password_Encryption_Utility_x.x.x.zip file
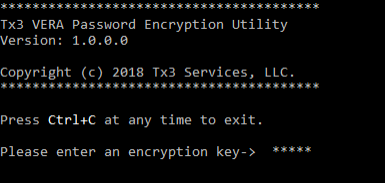
Start PasswordEncryptionUtility.exe
Enter an encryption "key". This is a sequence of characters used to encrypt and decrypt the target password. Make sure you keep that key safe and in a known place in case it needs to be referenced at a later time.
Enter again, for confirmation
Enter the target password to encrypt, and again, for confirmation
The password is copied to the clipboard and can be pasted into the Synchronization Policy file. See below.
Press Ctrl/C to exit the utility program
- Update the Synchronization Policy file with source application service account credentials and connection string
- In the "Locations" node/array, for the "Service Password" element, paste the encrypted password between the quotes, as the value for the Service Password.
Related articles
Filter by label
There are no items with the selected labels at this time.