Transitioning records between workflow states is another major feature of VERA. State transitions are used to move a record through its defined workflow. Examples of workflow transitions include:
- Transitioning an unneeded test case from Draft to Cancelled.
- Transitioning a superseded requirement from Approved to Obsolete.
- Transitioning a fixed defect from Open to Ready to Verify.
Sections 2 through 8 describe the specific workflow transitions available to the various record types controlled by VERA. However, all transitions within VERA operate in the same manner, and so this section provides the basic instructions for completing a workflow transition.
Selecting Records to Transition
As with most VERA actions, workflow transitions can be executed against a single record, or as a batch operation against multiple records. To begin a transition, first select a record or a folder containing multiple records in the QC/ALM interface.
Next, select the appropriate transition button from the VERA Action Menu. Each available transition will have its own button in the Action Menu. Reference Sections 2 through 8 for a description of the specific transitions associated with each action button.
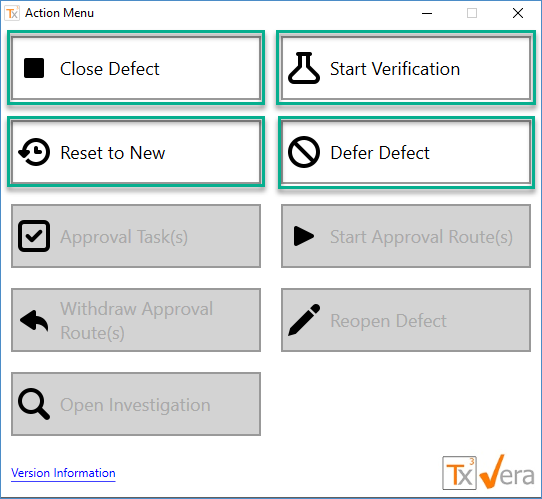
The following are examples of transition buttons for a defect record:
Figure: Defect transition actions in the VERA Action Menu
After selecting the intended transition action from the VERA Action Menu, the user will be presented with the standard multi-selection dialog described in Multi-select Actions. Select the specific record(s) to transition and press OK to complete the action.
Transition Reason Dialog (Conditional)
Some transitions are configured to require a transition reason. For these transitions, VERA will require the user to provide a reason or justification for executing the transition. This configuration is typically reserved for transitions that happen post-approval (after the record has been electronically signed).
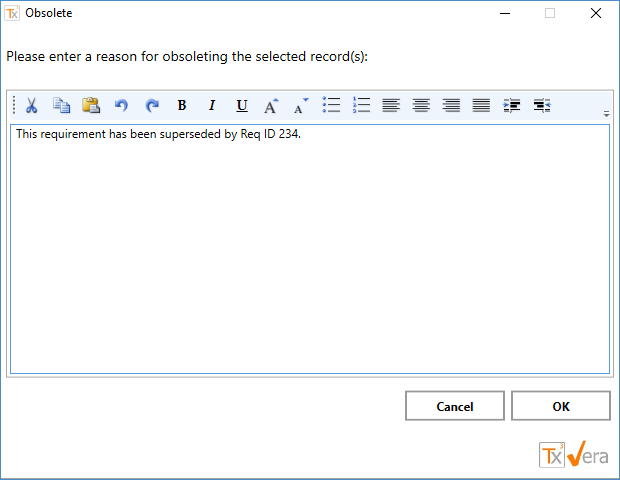
If a transition reason is required, then a second dialog box will display, prompting for the transition. The user must enter a transition reason. If the user cancels this dialog, then the entire transition will be cancelled.
Figure: A transition reason prompt. This example is from a transition from Approved to Obsolete.
Transitioned Records
Upon completion of the transition, the record will enter the new workflow state:
- The Status field will update to display the record's new workflow state.
- The record's data fields will either become locked or unlocked, as appropriate:
- If the record transitioned from an editable state to a non-editable state (example: Draft to Cancelled), then the record will have become locked.
- If the record transitioned from a non-editable state to an editable state (example: Approved to Draft), then record will have become unlocked.
- If a transition reason was required (reference Transition Reason Dialog, then the Revision Reason field will update with the new information. (example below)
- If an approved record was moved back to an editable state, then the Revision Number field is incremented.
Figure: Revision Reason field after a transition


