Approving Records
A record that is routing for your approval can be approved using the steps below.
A record can only be signed once by any given person. If you have already signed the record as one role, you will be unable to sign a second time.
Step-by-step guide
- Navigate to the record that you want to approve within its System of Origin
- Make sure the record is in the Routing for Approval state
- For qTest Test Runs see: Route a Test Run for Approval in qTest
- For Jira records see: Routing Jira records for approval
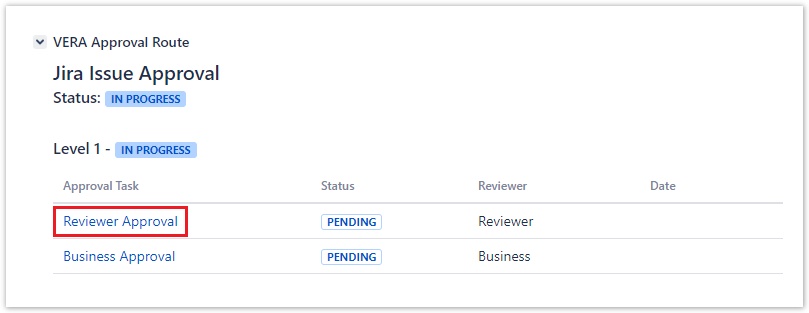
Select the Approval Task that you want to review for the VERA Approval Route table. You must be a member of the Approval Group (under Reviewer) to approve or reject the record
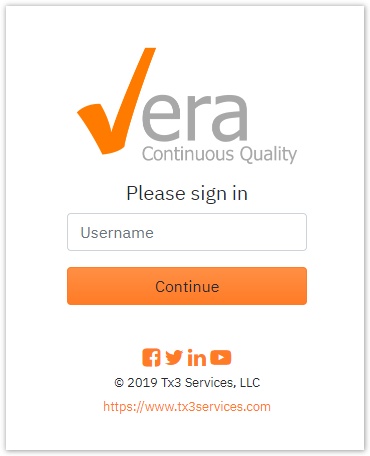
- Login to the VERA Web Portal with your credentials
- If you are already logged into VERA, you will be redirected to the Approval Task Details page
- If you are already logged into VERA, you will be redirected to the Approval Task Details page
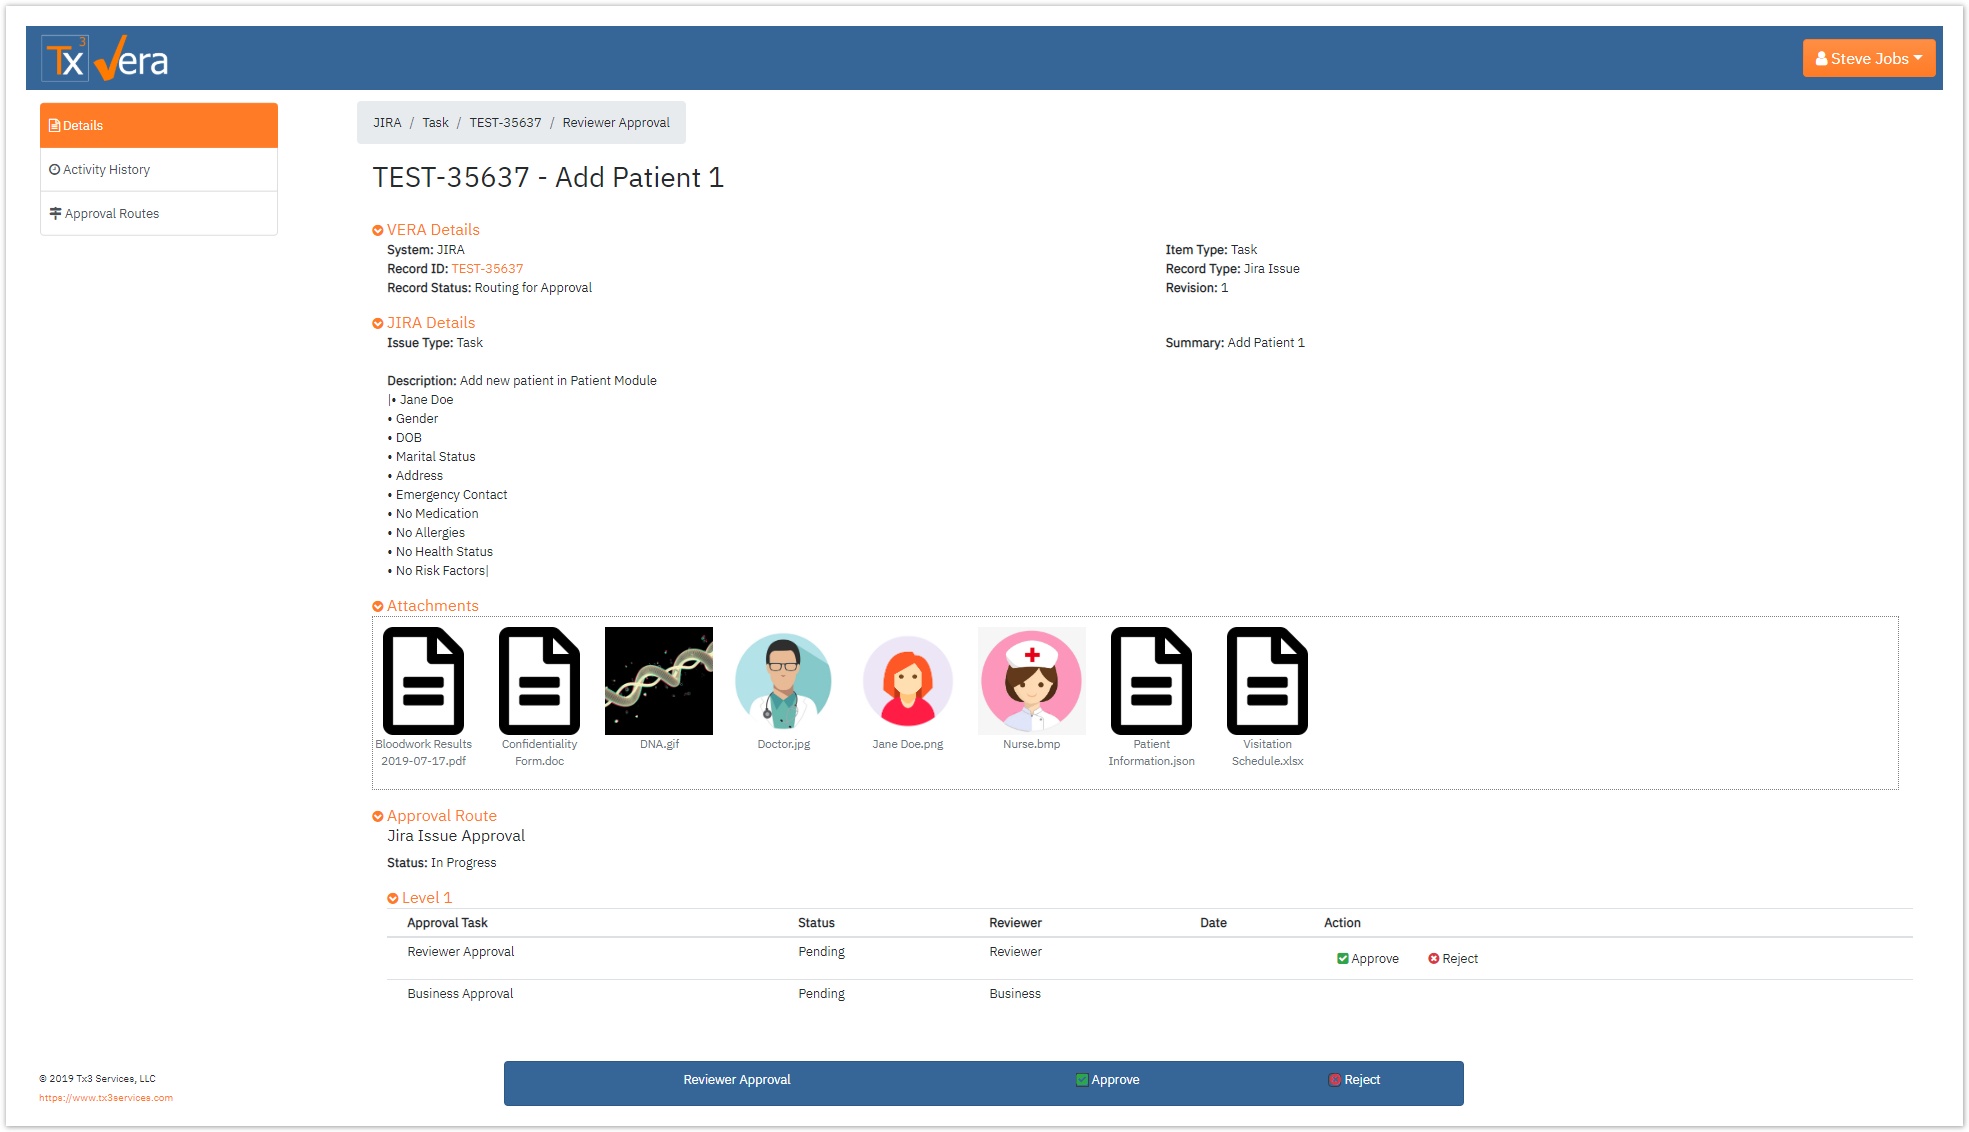
- Once logged in, the Approval Task Details view for the Jira record will be displayed
- Review the details and click either of the buttons to approve the record
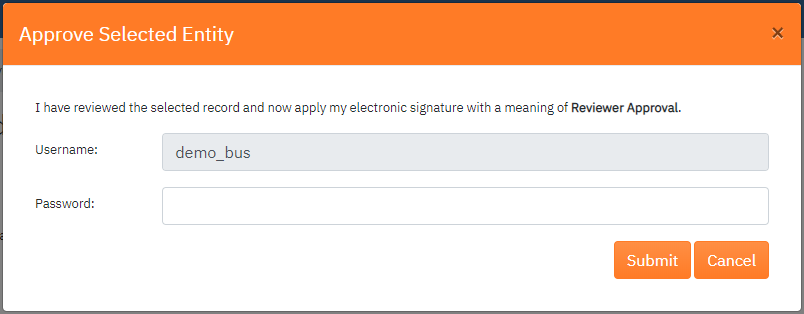
Enter your password and click Submit to apply your electronic signature to the record
IdP Login
If you are currently logged in through your company's Identity Provider, you will be redirected to the IdP login page to sign the approval task
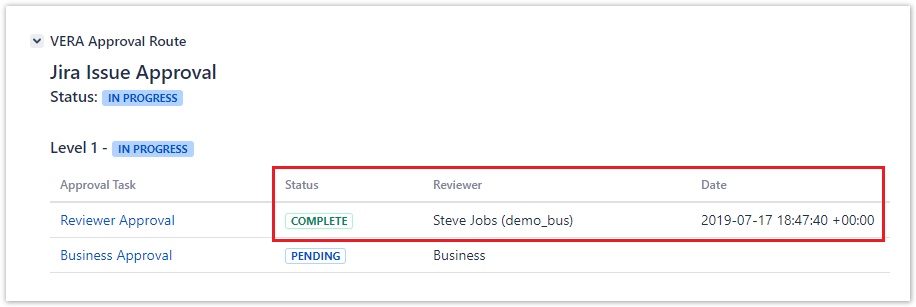
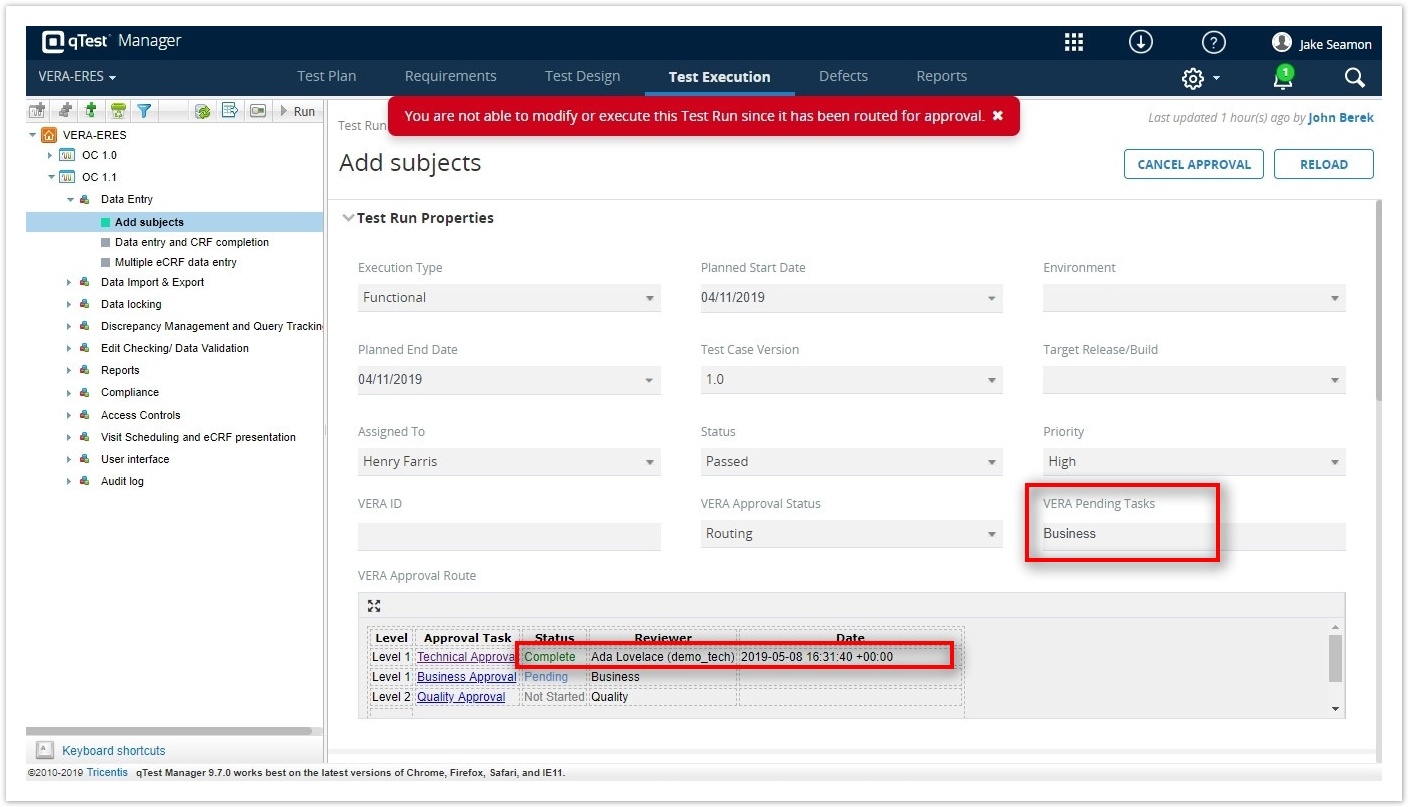
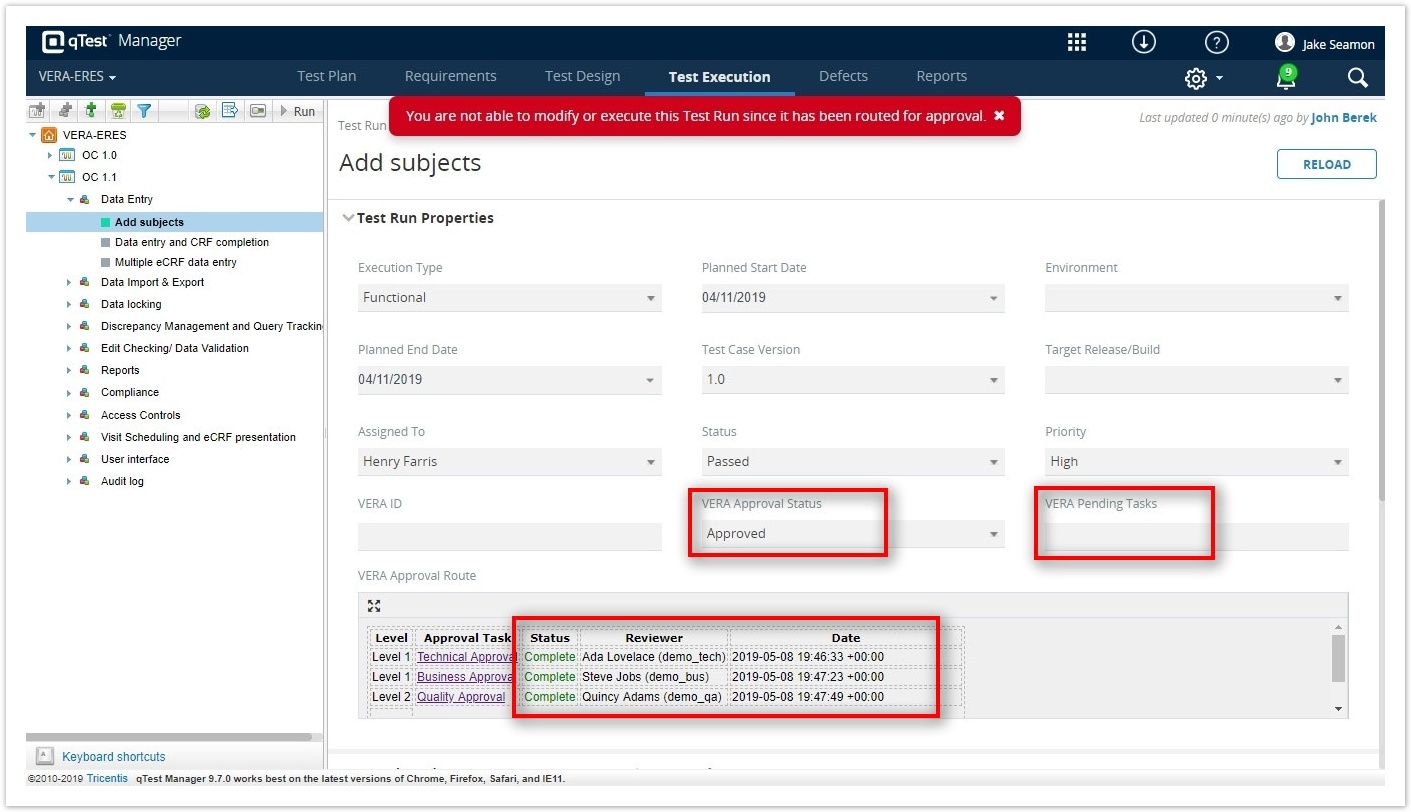
The Approval Route section in the VERA Web Portal is updated as followed:
- The Status of applied signatures will show as Complete
- The Reviewer column will populate with the full name and user ID of the individual who signed
- The Date will populate with the server time (GMT) and the UTC offset of when the approval occurred
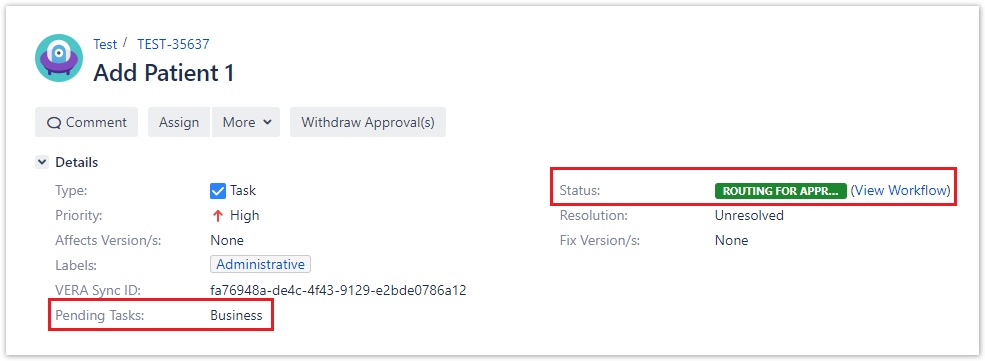
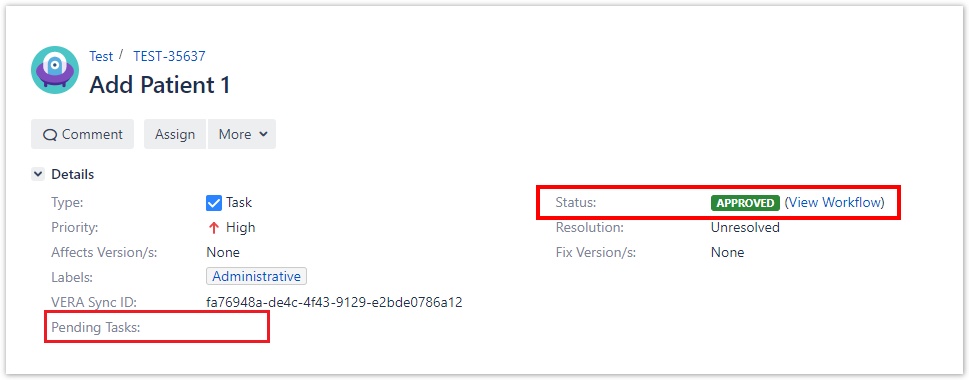
If additional approvals are needed, the Status field remains set to Routing for Approval and the Pending Tasks field is updated to indicate the next required reviewer(s). If yours was the last required signature in the Approval Route, the Status is updated to Approved
Related articles
Filter by label
There are no items with the selected labels at this time.
